Universal Enclosure PSU: Difference between revisions
| Line 64: | Line 64: | ||
</gallery> | </gallery> | ||
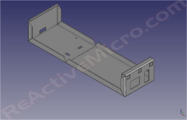
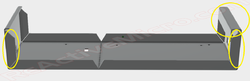
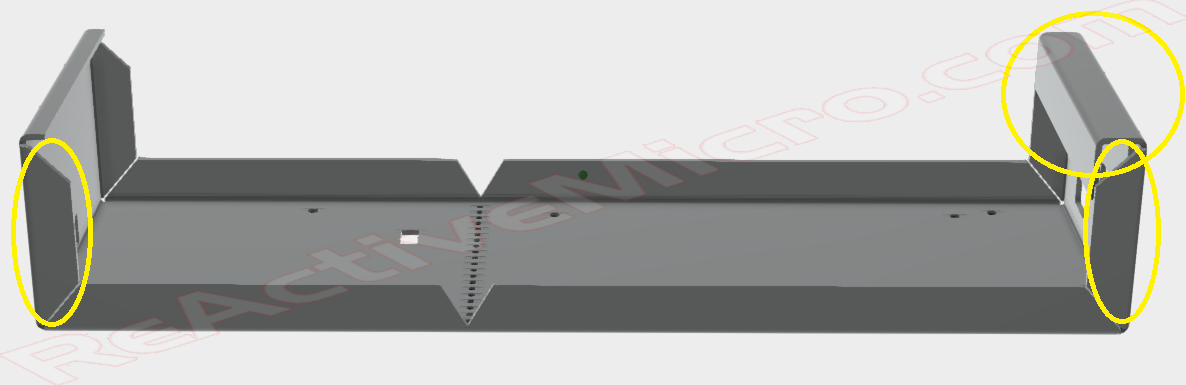
The next design was also the last with metal in mind. | The next design was also the last with metal in mind. This version also incorporated a user breakable end to allow the enclosure to fit in a II and II Plus case. Although the concept works, it's a share edge and some care is needed when making the bend. | ||
<gallery class="center" widths=250px caption="Design by: Manila Gear"> | <gallery class="center" widths=250px caption="Design by: Manila Gear"> | ||
File:2017-12-17 - ReActicveMicro - PSU Enclossure- Design2 - 3-Wiki-tiny.png|Last 3D CAD Concept|link=https://wiki.reactivemicro.com/images/e/e7/2017-12-17_-_ReActicveMicro_-_PSU_Enclossure-_Design2_-_3-Wiki-tiny.png | File:2017-12-17 - ReActicveMicro - PSU Enclossure- Design2 - 3-Wiki-tiny.png|Last 3D CAD Concept|link=https://wiki.reactivemicro.com/images/e/e7/2017-12-17_-_ReActicveMicro_-_PSU_Enclossure-_Design2_-_3-Wiki-tiny.png | ||
| Line 71: | Line 71: | ||
</gallery> | </gallery> | ||
The issue with these designs in metal is there's no 'simple' way to change or fix anything. There's no 'simple' | A lot was learned with these protos. The main issue with these designs in metal is there's no 'simple' way to change or fix anything. There's no 'simple' way to allow for options, such as fans or meters. All new revisions would take weeks to create and cost hundreds or even thousands of dollars to produce a few samples. Metal's main feature was strength, followed by its conductivity. Perhaps there are other materials which could better fit our needs and be simpler to work with and lower cost. | ||
While research, fitting, and refinement was going on Ultimate Apple 2 released their "Ultimate Enclosure" so our main research and development stopped for a while to help judge the market and actual demand, and receive some actual end user feedback. The most common comment was about the price, followed by being impressed by the quality. | While research, fitting, and refinement was going on Ultimate Apple 2 released their "Ultimate Enclosure" so our main research and development stopped for a while to help judge the market and actual demand, and receive some actual end user feedback. The most common comment was about the price, followed by being impressed by the quality. So it seemed we were on the right path but really needed to find a better material. | ||
Revision as of 02:06, 13 October 2020

The Universal PSU Enclosure is designed by [ReActiveMicro] to be an expensive PSU enclosure replacement and installed by the end user.
As the name implies, the enclosure supports the Apple II, II Plus, //e, IIGS, and most clones. It was conceived, created, and designed by Henry of ReActiveMicro and released for sale to the Apple II Community on date. It's a simple to assemble, fun kit for anyone who needs a new PSU for system missing one, wants to retire their old PSU while keeping it original, or for a decent all-in-one bench supply.
Product Status: Actively sold by ReActiveMicro.
Support: Post on the Discussion page (link above) or email ReActiveMicro Support.
Sales: Visit the ReActiveMicro Store.
Kit Assembly
The kit comes as several panels which are soldered together. It's very simple and quick to assemble, like legos, and most users won't even need instructions. However with all our kits, we highly recommend at least skimming to quickly review.
- Step 1: Assemble the bottom and the sides. Simplest way to start is to hold the end panel and side panel to the bottom panel. This will form a stable triangle which can easily be tacked in to place with some solder. One in place you can add a thicker and longer bead of solder to add strength.
- Step 2: Add the remaining side. Solder all joints well and add plenty of solder. The whole seem doesn't need to be soldered, but ever 2" / 5cm is a good idea. And be sure to solder where the corners of the panels meet.
History
When Henry created the [Universal PSU Kit] in 2015 he also started research in to what it would take to create a custom enclosure. The initial concept was going to be a full clone of what Apple Computer produced. However any metal enclosure about $1k or more for single proto units, and at least $85 per unit in quantities under 250 units. These prices meant either metal had to come down in price, or some other material would be needed.
Henry then started to look in to 3D printing in conduction composites and even metabolized plastic. Although these did mostly work, the price was still very expensive and the metal coating in most cases wasn't very durable. Several hobbyist in the retro Community contacted Henry to possibly offer help, however all these offers ended in the same thing being learned - working in metal is very expensive. So Henry would need to find another option.
In 2018 Ultimate Apple 2 completed their own project called the Ultimate Enclosure. It was fully metal and consisted of a case and a lid. The retail price was $95 and released on October 5, 2018. During this time Henry had been busy with other projects and didn't want to compete with Ultimate Apple 2, especially with the added risk with a large investment due to the cost of metal work. However stock of enclosures was single source and not always available, and the current design left some room for improvement. So Henry continued with research and ideas.
Several ideas and materials were tested. Meters, fans, and kit ideas were all researched. In July 2020 an old CAD design was revised and a new proto completed and ordered. The new material allowed so low cost production that could be ordered factory assembled or in kits for end users to assemble. The cost was also a 10th of metal, and unlike metal allowed for parts to all be produced flat which would save in space with stock and shipping.
Once the initial proto was assembled it was clear this concept was viable and allowed for simple changes and features to be added in the future with little or no costs for tooling, unlike metal. Meters and fans were added shortly after, and custom DC Output Cable designs were worked out to keep costs low and to allow maximum flexibility for the end user.
Versions
In 2015 research in to what it would take to create a custom enclosure. Several PSUs were evaluated and several well versed Community members consulted as to their input. We decided to use a 'long' IIgs PSU which would allow for IIe and IIgs usage with no changes. However this PSU was too long to fit in the II and II Plus due to the placement of the speaker. In an attempt to produce only one version of the enclosure a modification would be needed to allow the user shorten the enclosure at will. Two main options seemed possible. One being a removable bracket, and the other being a way to snap off the enclosure. The issue with a snap off solution would be possible sharp edged and a risk of getting injured.
The initial designs started in 2017. Several companies and Community members provided CAD and ideas for a simple yet versatile layout.
- Design by: Abesttec Metal Technology
-
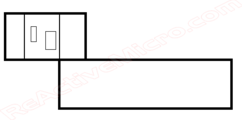
Initial MS-Paint Concept
-
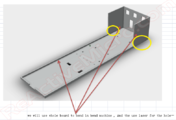
Initial 3D CAD Concept
-
Initial 3D CAD Concept
-
Breakoff End Idea

This initial concept touched on some key points. First, in order for the design to be low cost it would not come with a cover standard. Possibly it would be an option, but the costs for just a simple cover was over $20 each. A cover isn't functional or useful for anything except to keep heat in or hands out. Since it's almost impossible to be shocked by our Universal PSU once it's mounted we didn't see much use for a cover even from a safety standpoint. And next thing we knew we needed for this design would be some kind of side feature to help add some rigidity to the long piece of metal. We also strived to keep the design in one sheet and as simple as possible to keep the costs to a minimun.
The following design tried to improve the strength things as well as improve safety with edge bends. So no more sharp edges, but with added costs and complexity.
- Design by: Abesttec Metal Technology
-
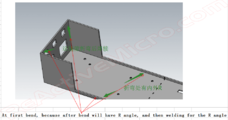
Improved 3D CAD Concept
-
Improved 3D CAD Concept
-

Improved 3D CAD Concept


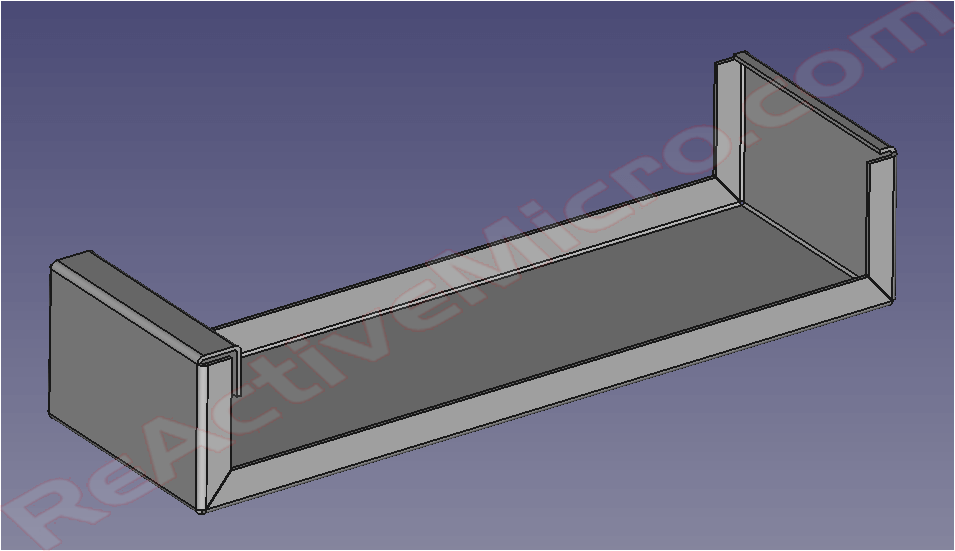
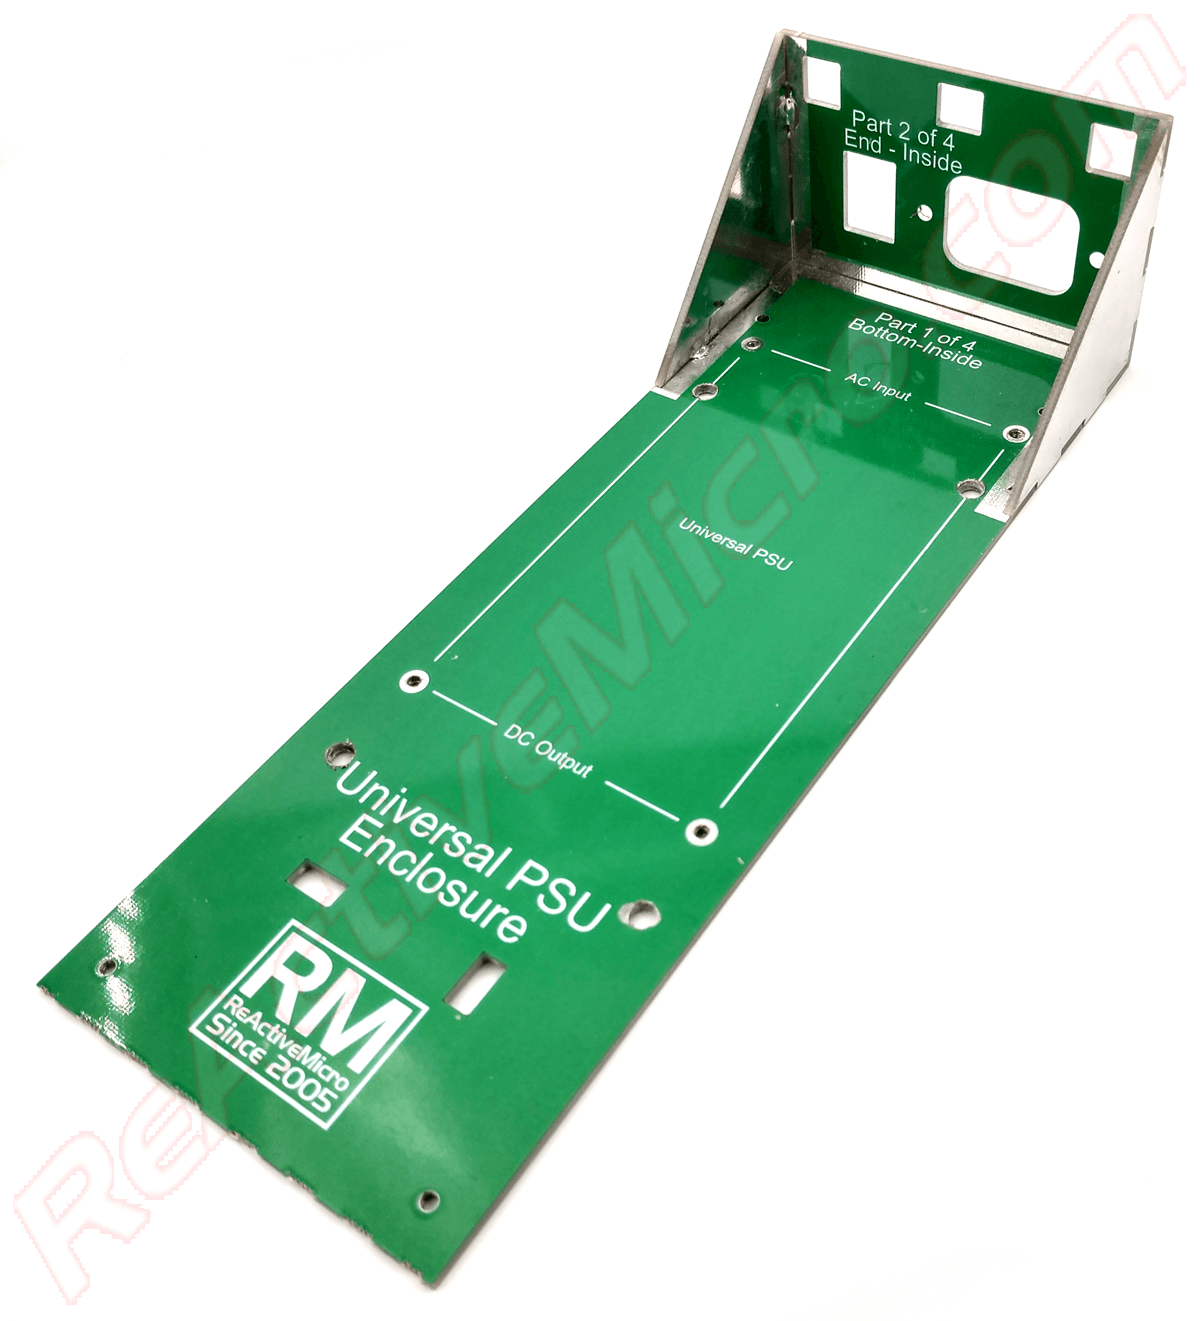
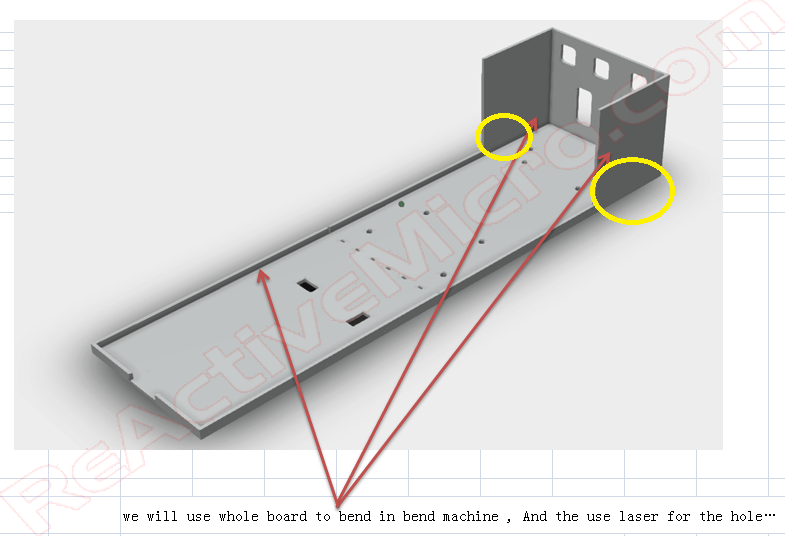
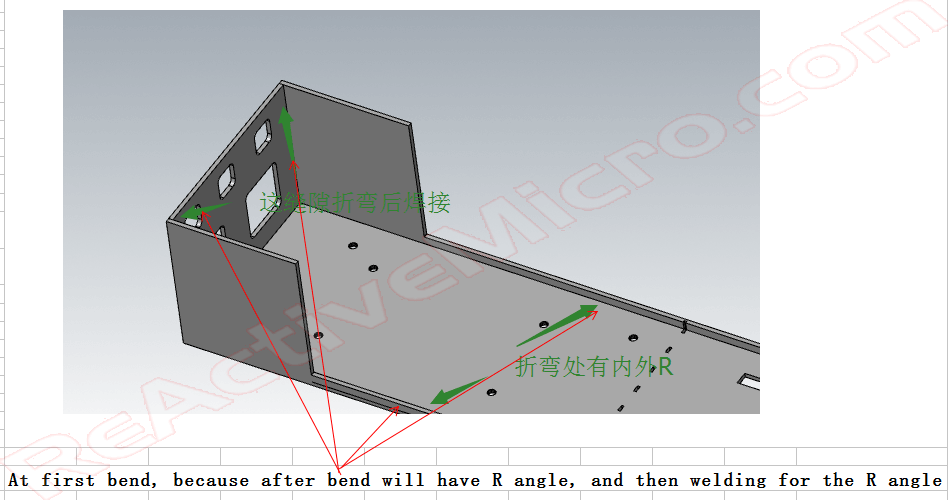
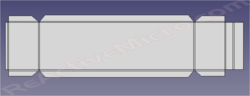
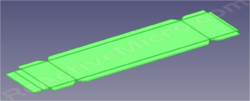
The next design was also the last with metal in mind. This version also incorporated a user breakable end to allow the enclosure to fit in a II and II Plus case. Although the concept works, it's a share edge and some care is needed when making the bend.
- Design by: Manila Gear
-
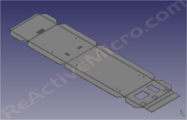
Last 3D CAD Concept
-
Last 3D CAD Concept
-
Last 3D CAD Concept


A lot was learned with these protos. The main issue with these designs in metal is there's no 'simple' way to change or fix anything. There's no 'simple' way to allow for options, such as fans or meters. All new revisions would take weeks to create and cost hundreds or even thousands of dollars to produce a few samples. Metal's main feature was strength, followed by its conductivity. Perhaps there are other materials which could better fit our needs and be simpler to work with and lower cost.
While research, fitting, and refinement was going on Ultimate Apple 2 released their "Ultimate Enclosure" so our main research and development stopped for a while to help judge the market and actual demand, and receive some actual end user feedback. The most common comment was about the price, followed by being impressed by the quality. So it seemed we were on the right path but really needed to find a better material.